How do I get professional photos that sell?
Either you’ve searched for this content or been directed here by an agent that values a strong marketing message. Rest assured, you’re headed in the right direction. It’s time to prep your home for a great shoot that evokes excitement with potential buyers.
Prior to the Shoot
Recommendations for preparations in the days leading up to your shoot.
- Declutter: Remove any unnecessary items from the rooms and spaces being photographed. This includes items like toys, personal items, and any clutter that might be distracting in the photos. (Remember, less is typically more.)
- Clean: Make sure the spaces are clean and tidy. This includes dusting, vacuuming and wiping down surfaces.
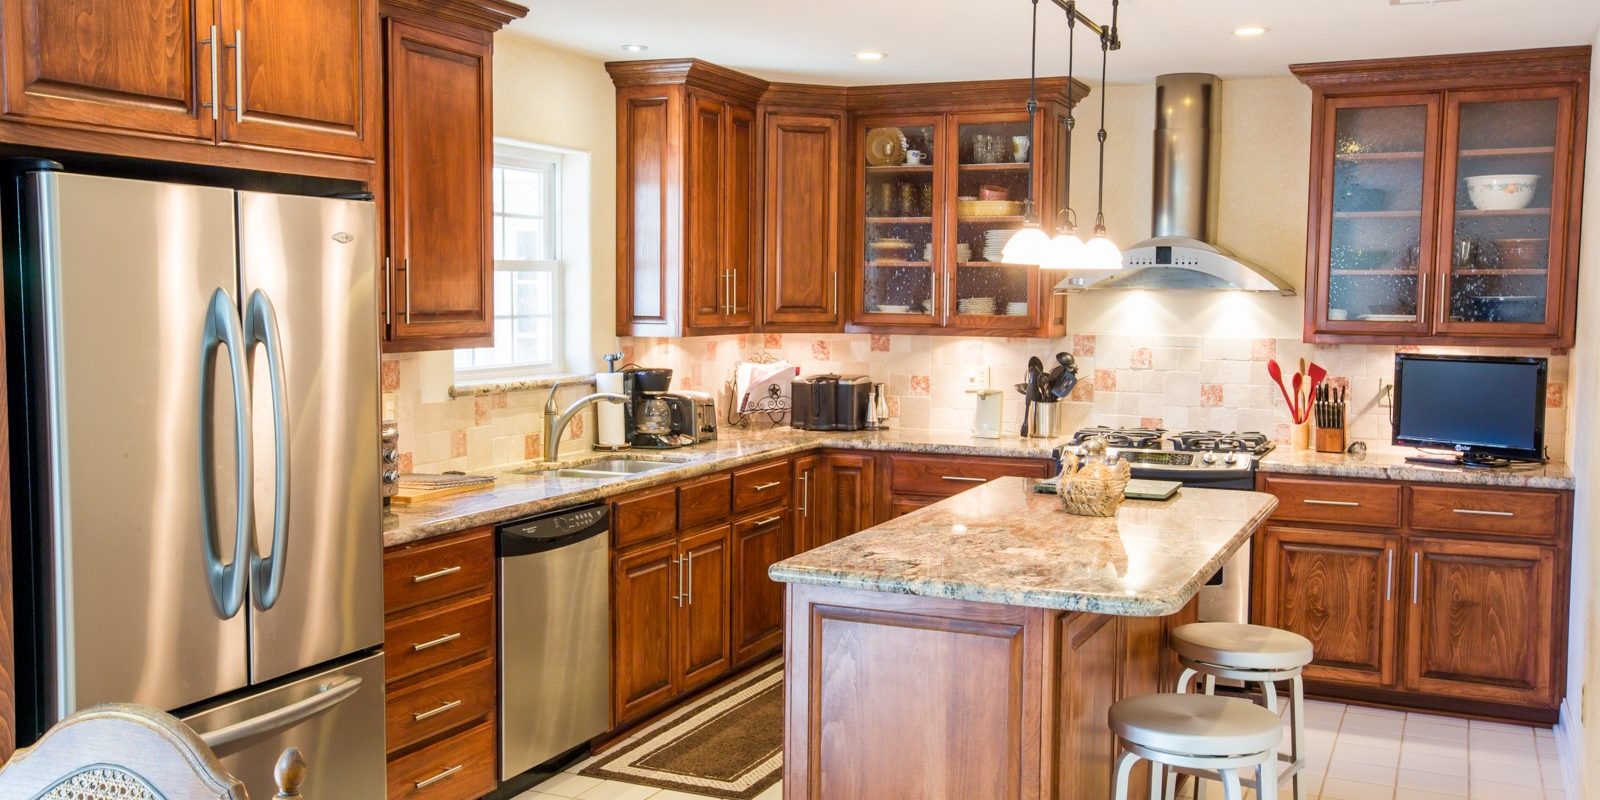
- Clear kitchen countertops to the very minimum and remove refrigerator magnets and pictures.
- Bedrooms: Make beds, make sure lamps are plugged in and working, and remove clutter from the nightstand.
- Bathrooms: Hide soaps, toothbrushes, toilet plungers, bath toys, and other items when possible.
- Minimize personal items like family photos on nightstands or large and distracting personalized photos that might make it more challenging for the potential buyer to see themselves living in your home. Consider replacing removed wall photos with landscape scenes.
- Repair: Make any necessary repairs, such as fixing a loose doorknob or repairing a hole in the wall.
- Stage: Rearrange furniture and decor to create an inviting and visually appealing space. This might include adding or removing items to improve the flow of the room.
- Lighting: Check that all the light fixtures are working and the bulbs are bright enough to light up the space.
- Landscaping: Tidy up any outdoor spaces, such as mowing the lawn, weeding, pruning bushes and trees and sweeping the porch, walkways and/or patio. (Tip: Cut and trim grass a couple of days before the shoot to allow time for a little regrowth (as well as allow you time sweep clippings off porches and walkways).
Time for the Shoot
Day of recommendations for preparing your home for photography.
- Turn on all lights, lamps, and exterior lights (yes, even during daytime shoots).
- Shut off all fans or items in motion.
- Contain animals in one area or make arrangements to remove them during the shoot.
- Most shots will be super wide angles with long exposures (some shots may exceed 1 minute in total), and encourage all foot traffic to remain outside the house, and away from the windows. When the photographer is shooting outside, it is best to move inside but away from windows. This also includes animals as they tend to congregate at sliding glass doors.
- Put away shoes, backpacks, coats, pet dishes and remove animal enclosures.
- Move vehicles and lawn equipment away from the house, preferably off the property when possible. At a minimum, a clear driveway allows for an unobstructed view of the front of the home.
- Detach hoses, especially those on the front of the house. Others can be nicely wound and laying on the ground.
- Move trash cans to the garage or the side of the house.
Pro Tip: Typically garages and non-master bedroom closets are not photographed unless they contain a selling feature. These locations tend to be good locations for temporarily storing items that are being removed for pictures.
Now, you’re ready! Shoot times range from 40 to 90 minutes depending upon the size of the home and adjoining property, as well as the photography services being captured of your property (traditional photos, ariel photos, video and/or matterport 3D tours).
How to use photos to maximize your home’s selling price.
Basic economics teaches us that increased demand leads to a higher price. This leads us to an important question: how can you increase demand for your home? In today’s digital age, the majority of home buyers start their search on popular real estate websites such as Zillow and Realtor.com. Therefore, it’s crucial to make a strong first impression, as this will often determine a buyer’s level of interest in your property.
The perceived quality of your home can be judged in a matter of seconds during an online viewing. By capturing attention with a strong-featured image, you can build trust and create a positive impression. On the other hand, low-quality images can discourage buyers and lead to a negative impression.
If you are reading this, it likely means that your agent has taken the first step to ensure that you put your best foot forward by investing in professional photography. Professional photography can help to showcase your home’s unique features, establish its quality and generate leads. In order to maximize this investment, it is critical that homeowners adequately prepare the home for photos prior to the photographer’s visit.